Aspects modify code during compilation while leaving your source code intact. In contrast, live templates transform your source code within your editor. After you apply a live template to a declaration, you can edit the generated code. Live templates are a one-time operation. Unlike aspects, if the live template author modifies the code generation rules after you've applied the template to your source code, your source code won't be modified.
You can access live templates from the refactoring menu, also known as the lightbulb or screwdriver menu.
Step 1. Add a project or package reference
Like aspects, live templates are declared in projects or NuGet packages that you add as references to your project.
Add the aspect library to your project using a <ProjectReference> or <PackageReference>. This makes the aspect available in the refactoring menu. If necessary, remove the reference after the operation.
Note
If you only use live templates from this project, consider using the PrivateAssets="all" option to prevent the reference from impacting other projects that consume your project.
Step 2. Apply the live template
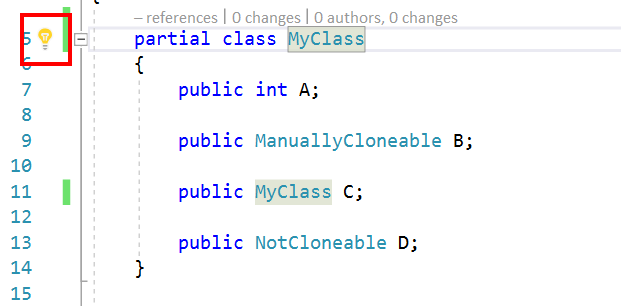
- Position the caret on the name of the declaration where you want to apply the live template.
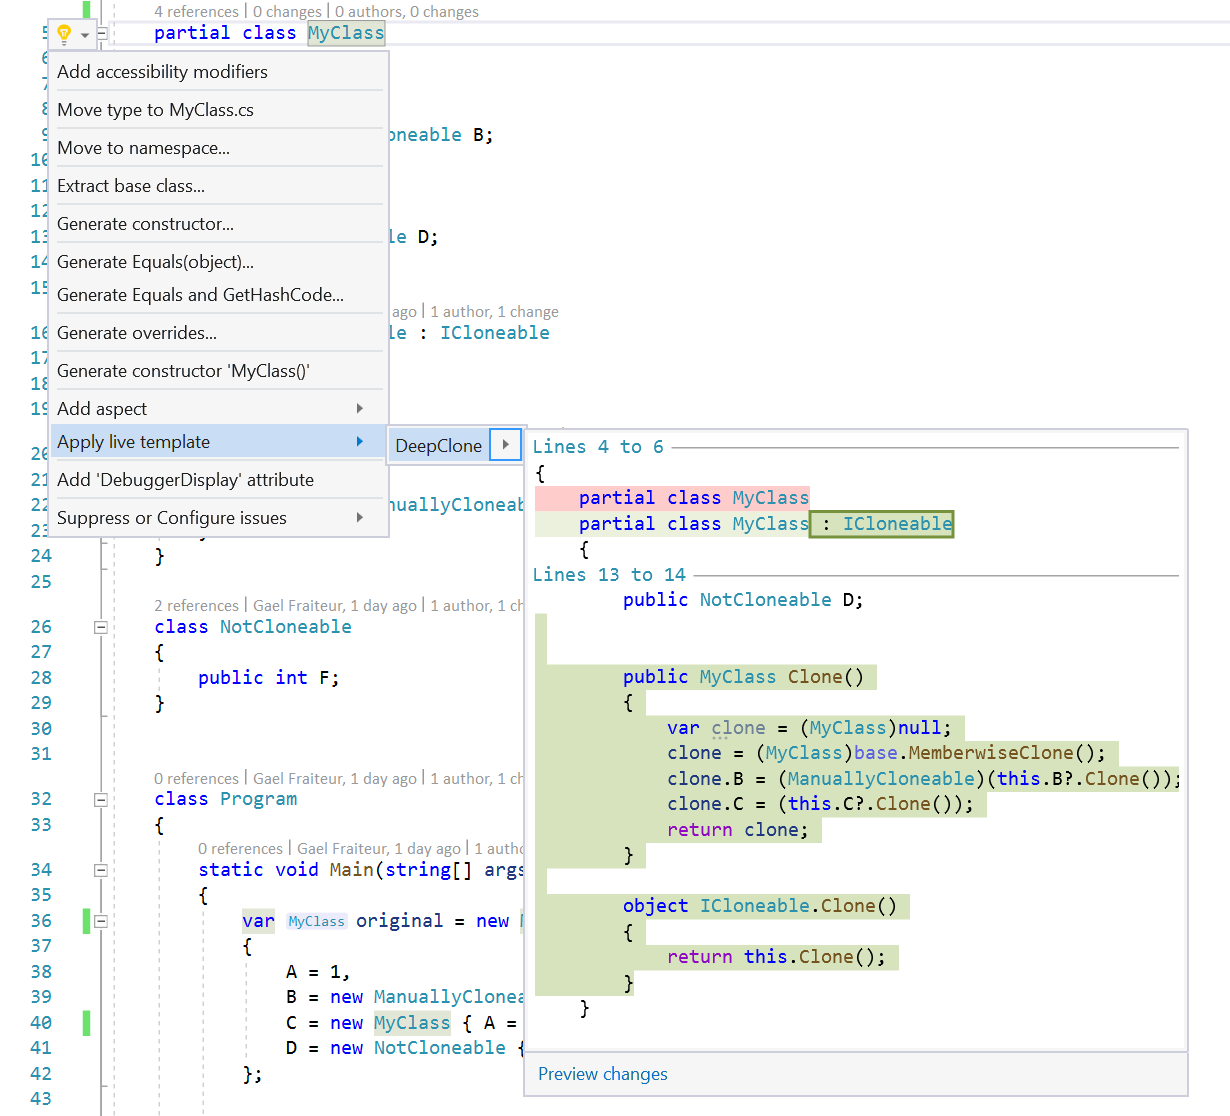
- Click the lightbulb or refactoring icon and choose Apply live template.
- Select the live template you want to apply.
Note
The live template author can customize the appearance of the live template in the refactoring menu. It may appear under a different menu item than Apply live template.